First, Let’s Set the Stage (pun intended :p)#
So my brother, @droidsingh (also known as Amanjeet Singh), is one of the Founding Engineers at maestro.dev by day (sometimes night as well - timezones, am I right) & a full time music lover. As a hobby, he decided to start DJing almost a year back.
It was around that time when I joined him in the fully remote worker club as a Robotics Engineer at EightVectors. Rather than working from home, me (sometimes) and my brother (literally everyday) often work out of cafes nearby. One of those cafes, FES Cafe, is well known for its exceptional cookies and weekly coffee raves with an hour-long DJ set. Seeing this as an opportunity to level up his DJing, he volunteered to play during one of those raves.
But, we wanted to take this up a notch and make it more than just another weekly DJ session.
What makes a Music Event Good?#
Well…for starters: good music 🎵🎶, duh.
But that is just one part (a very major one) of it. Good events are not just about the music.
They’re about the whole experience. The vibe, the venue, the crowd.
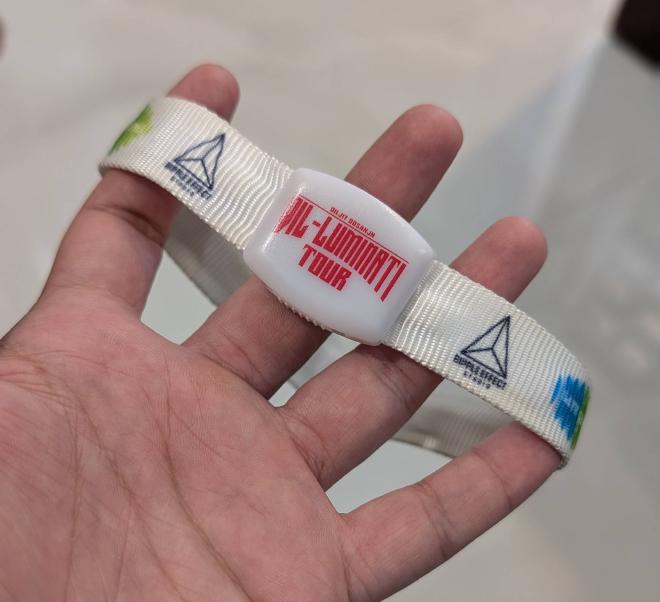
And at the end of all that, if you have something tangible to remember the event by, then it’s the cherry on top 🍒. I still have the LED band from a concert I attended 2 years back as it helps me remember the day whenever I look at it.
Luckily, in this scenario, the vibe, the venue, the crowd were all in the good hands of FES Cafe and DJ @droidsingh.
But what about the last part? What about the cherry on top?
This is where my hobby of 3D printing comes into play.

Engineering the Cherry on Top#
So, the goal was simple: We need,
Something small. Something memorable. And something useful that people wont throw away the moment they leave the event.
So like any other 3D printing guy, I started doomscrolling on Thingiverse for inspirations.
And then, it clicked.
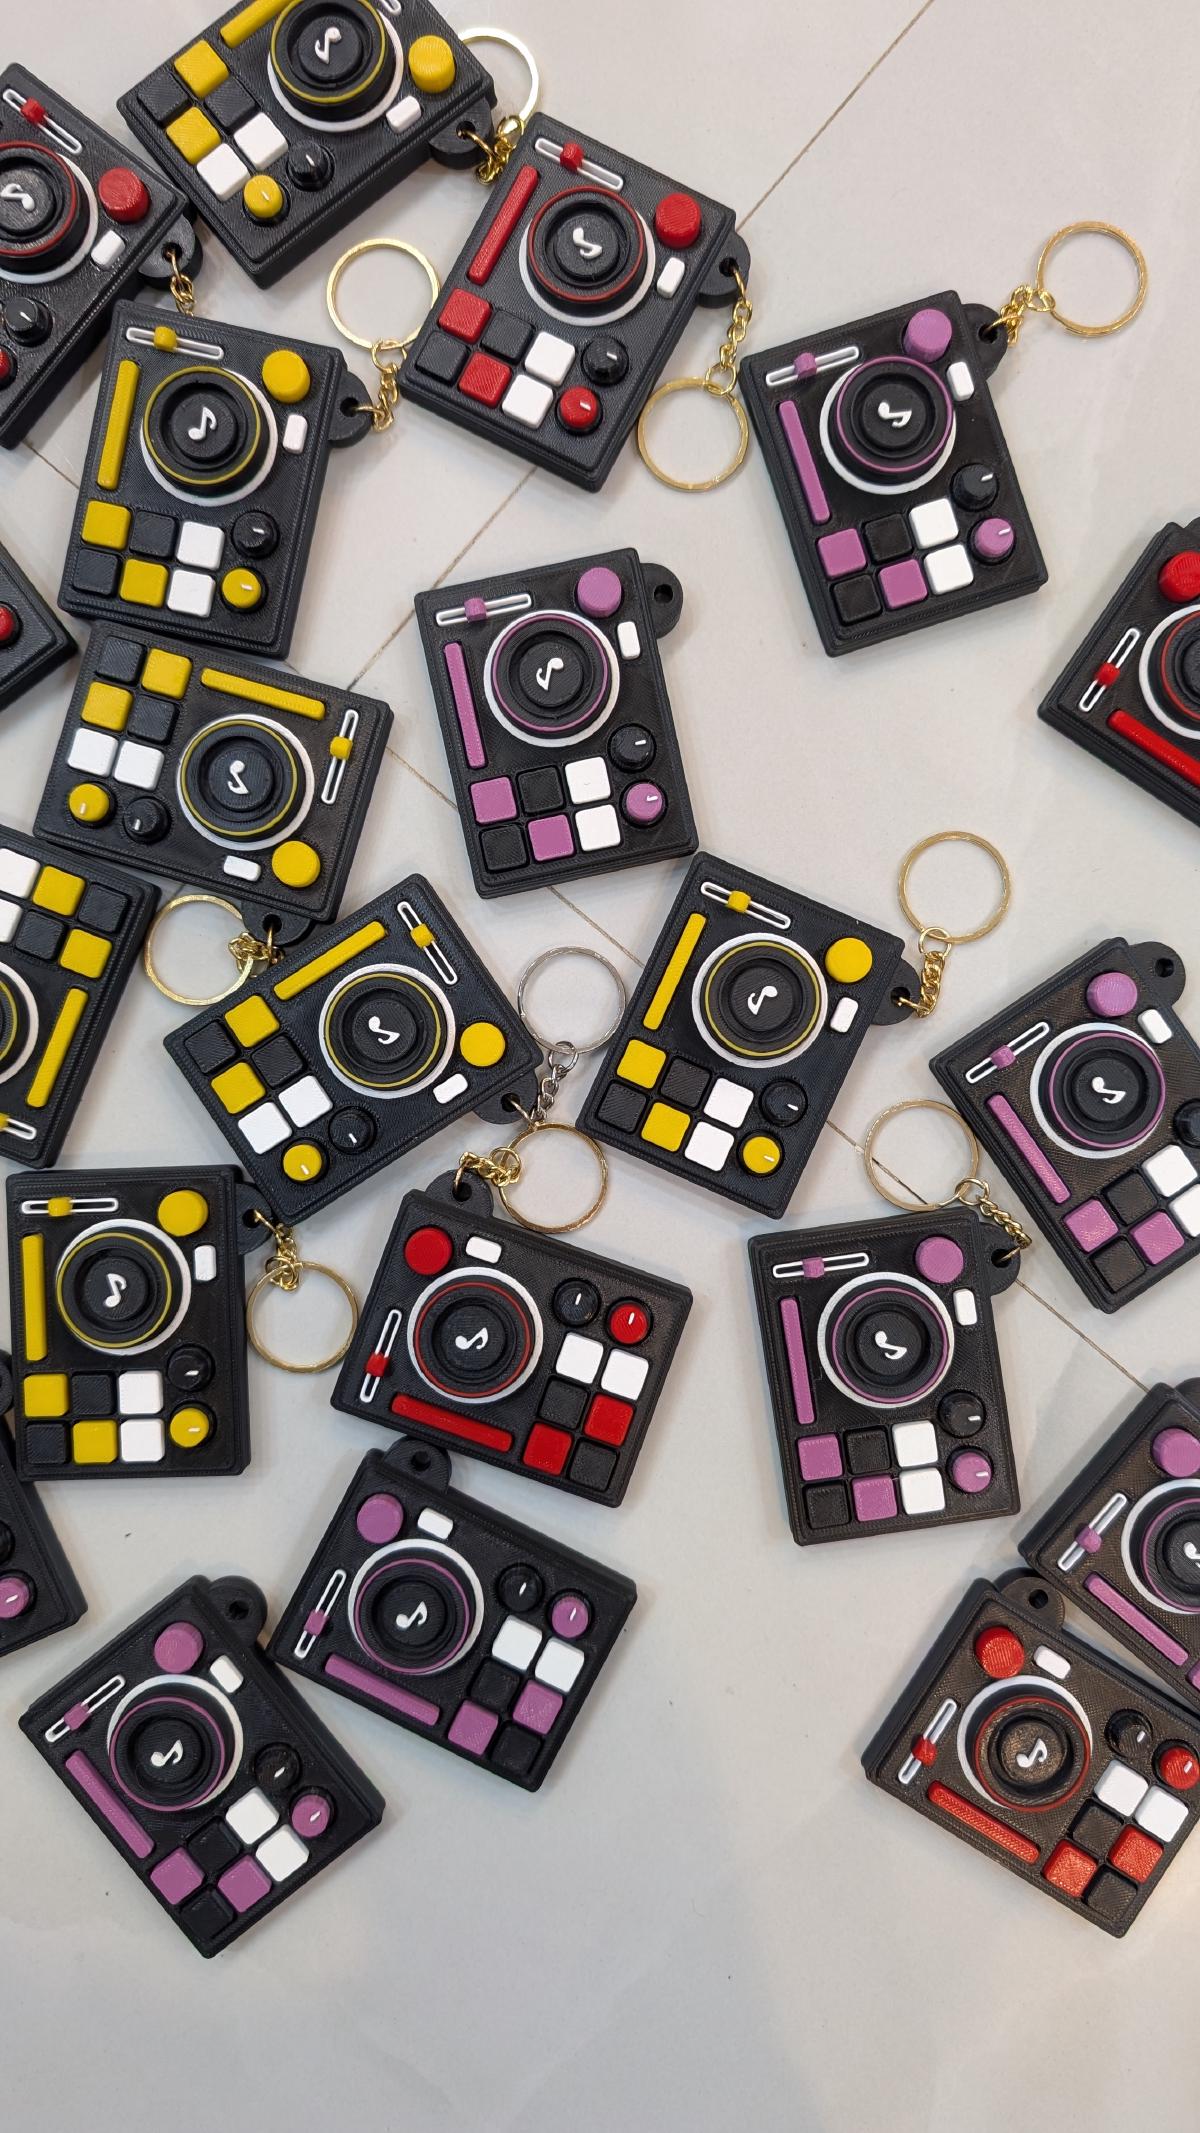
What if we make a keychain that looks like a miniature DJ console? This would be a 100% match with the event’s theme.
And then, again, it clicked.
What if we make the disc on the miniature console rotatable like a real console so the keychain also doubles as a fidgeting toy?

And this is how the idea for the project was born.
Idea to Visual Reference: AI Image Generation to the Rescue#
Visually, the requirements for the project were simple:
- It should look like a DJ console
- It should be small enough to be a keychain
- It should look nice enough that people would actually keep it
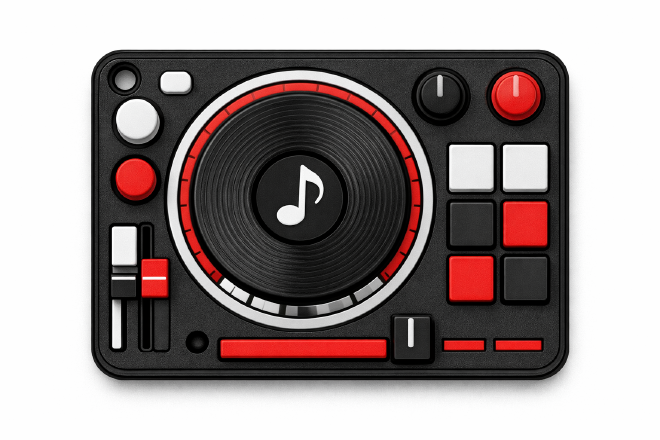
To quickly visualize this idea, I dumped all my thoughts and ideas in ChatGPT’s prompt & asked it to generate a concept image. That image became my reference for designing the final 3D printable model.
Nothing fancy, just something to help translate the idea in my head into something visual.
Visual Reference to CAD#
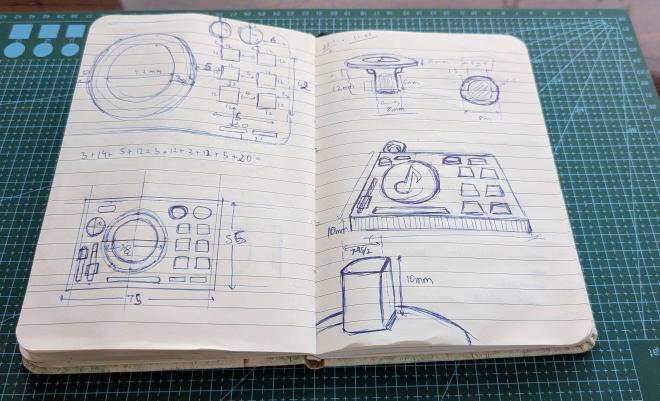
With the reference image ready, the next step was to define the dimensions, tolerances, and create basic engineering drawings to guide the CAD. The design was simple & split into two parts:
- Console base
- Spinning disc
The disc would snap-fit inside a 608ZZ bearing, which is very common and easy to source.
The bearing itself would snap-fit inside the console base.
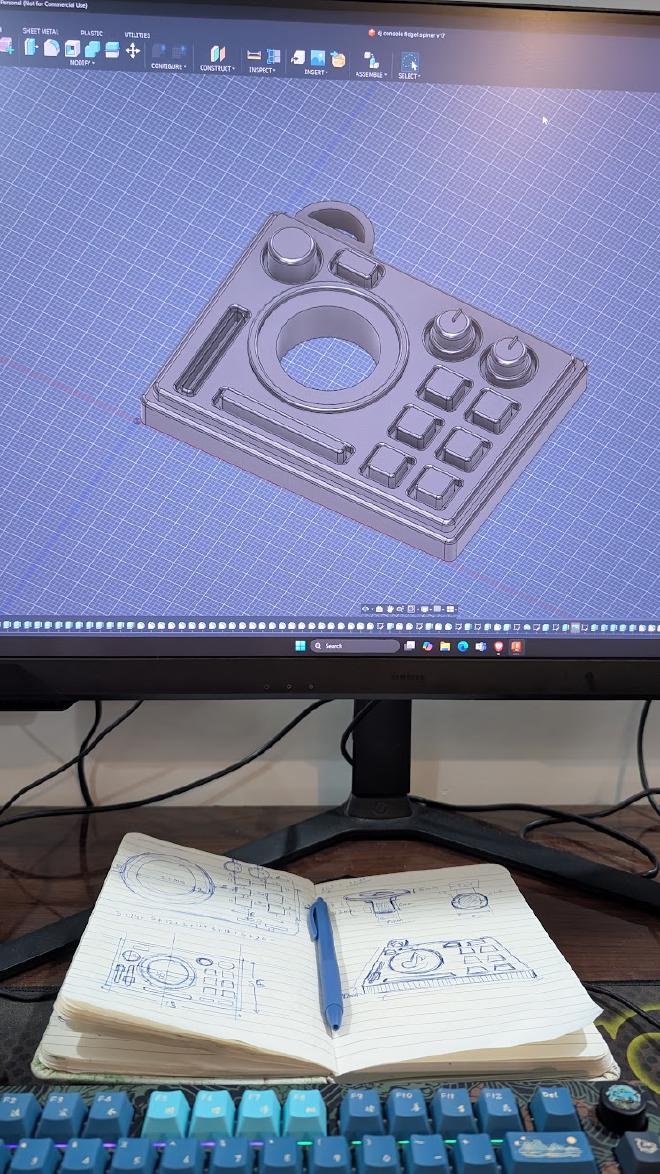
With the drawings ready, I turned to an old friend: Fusion360. It had been a while since I last opened it, but quickly, muscle memory kicked in with the usual CAD routine of:
Sketch. Extrude. Fillet. Repeat
And after some cycles of the said routine, the design was ready 🎉.
From CAD to Reality#
For printing, I reached out to a friend who owns a Bambu Lab A1. Huge shoutout to Soled.objects for helping get these printed in time.
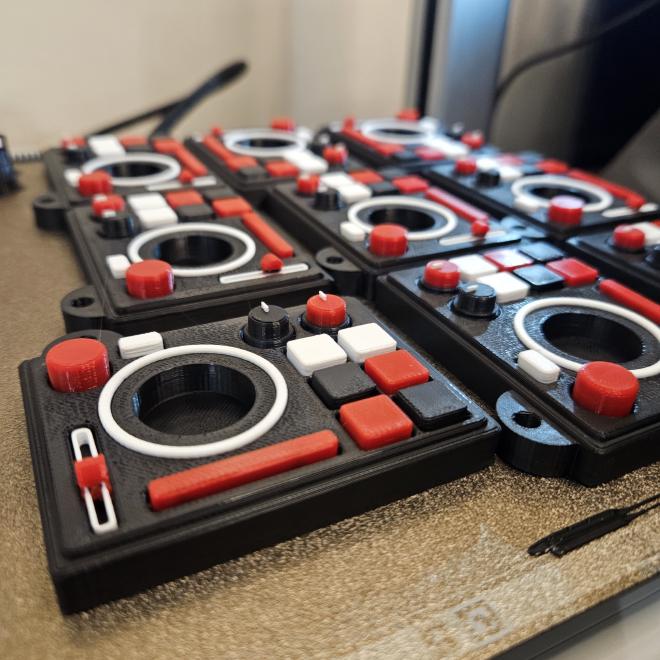
After a single test print, it was good to see the design worked exactly as intended:
- the bearing fit snugly
- the disc spun smoothly
- and the print quality looked surprisingly good. Great job Bambu Labs!
Once everything checked out, it was time to print the whole batch. After about ~40 hours of print time & a buttload of purged filament we were ready with over ~50 pieces to be assembled before the final day.
Assembly Night (a.k.a. the Stealth Mission)#
We received the printed unassembeled keychains the day before the event. And after wrapping up our day’s work and after some playtime with God Of War Ragnarok, I sat down with my brother and his friend to assemble around 50 keychains the night before the event :)
Each assembly required pressing the bearing into the console base. Which involved some forceful taps from a rubber mallet.
The only problem?
It was really late at night. And repeatedly hammering metal bearings into plastic parts is not exactly the quietest activity.
So the entire assembly process turned into a quick but stealth mission.
Sacrificing my leg as a dampener, I carefully tapped the bearings in while my brother and his friend were responsible for attaching the keyring, gluing the spinning the discs inside the bearing and testing. Pretty hardcore testing.
After a while we got into a rhythm and finished assembling the whole batch.
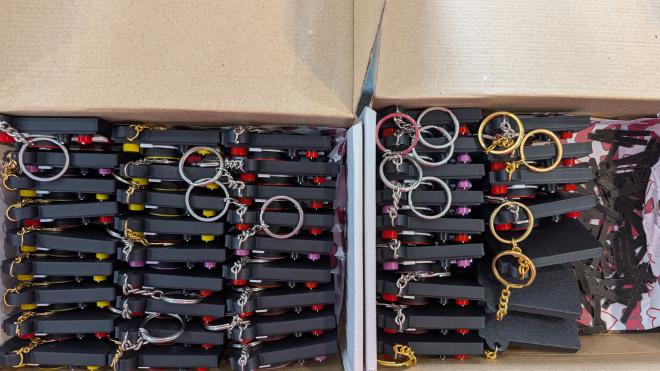
By the end of it, we had a table full of tiny spinning DJ consoles, ready for the next day’s coffee rave.
The Event#
The event was a huge success. The music was great. The keychains were given to all attendees as special merch.
And as expected, the first thing people did was:
Spin the disc.
Mission accomplished.